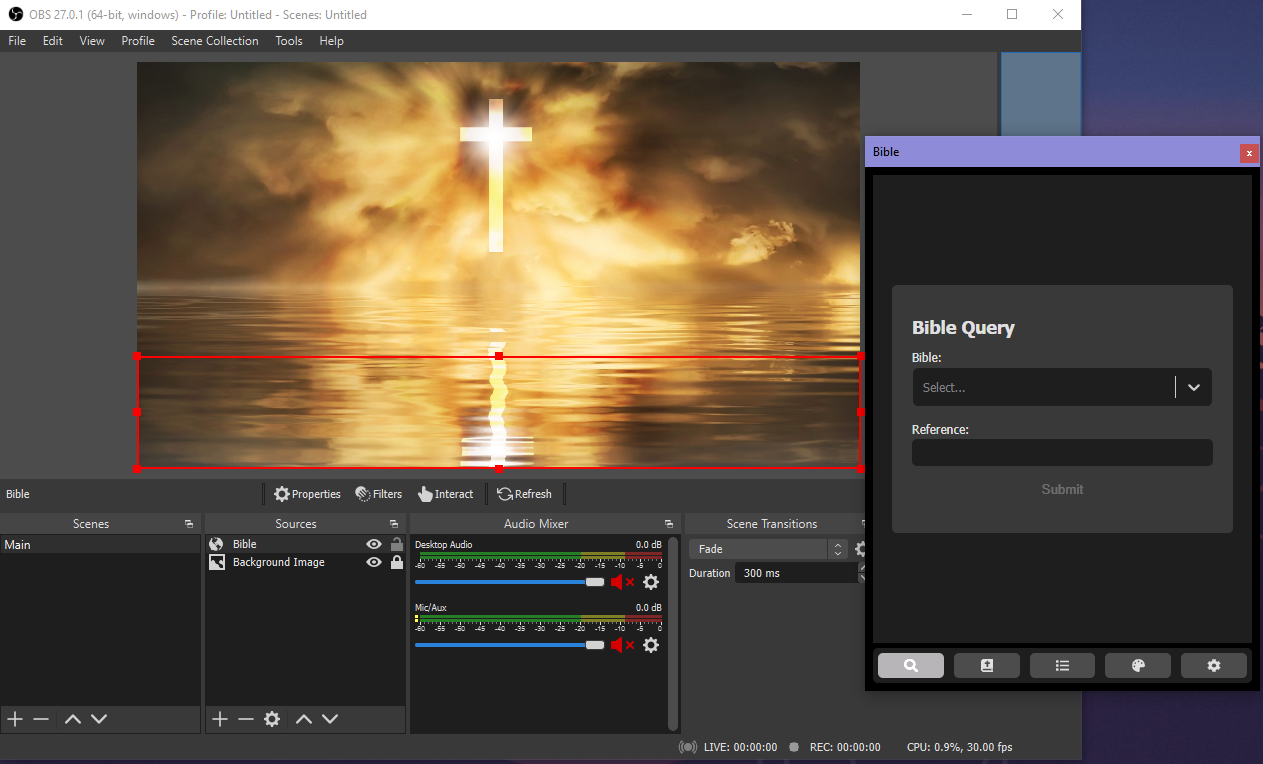
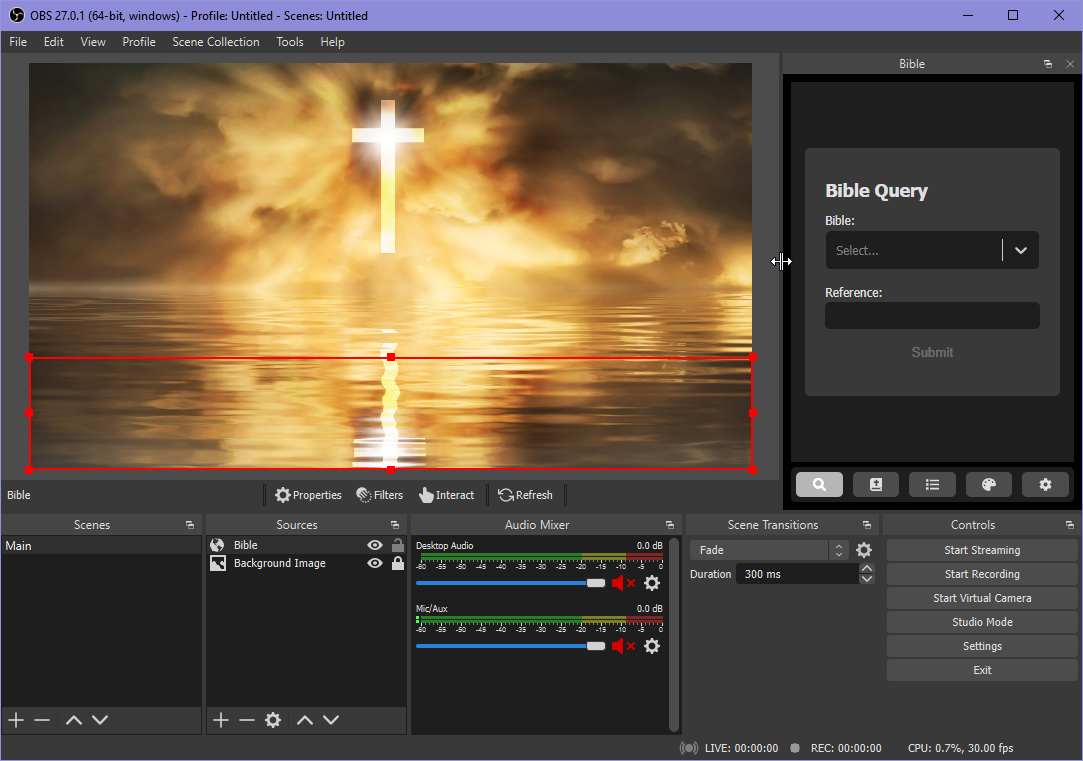
Overview
Learn how to set up the Coffee Version using the Server method. This guide covers how to set up the Bible plugin from scratch.
Important Notes:
- The Server method uses both the Generator program and the Server program.
- The Server program must be run every time you want to use the Bible Plugin.
- In the future, the Server program could allow for features that are not possible in the File method.
- For more information on alternative methods of setting up the Coffee Version and the pros and cons of each approach, please refer to the Coffee Version setup page.
Before You Begin
If you already have the free online version set up in OBS Studio, you will need to remove it first. The Coffee Version and the Online Version are not compatible with each other; mixing both versions will likely cause issues and result in confusion.
Available Files to Download
After purchasing the Coffee Version, you will receive an email with a unique download link. If you click the link, you will see a number of files you can download.
For example, here are the files that were available in v1.4.4 of the Bible Plugin:
- OBS.Studio.Bible.Plugin.Generator-win32-x64-1.4.4.zip
- Generator program for 64-bit Windows.
- OBS.Studio.Bible.Plugin.Generator-win32-ia32-1.4.4.zip
- Generator program for 32-bit Windows.
- OBS.Studio.Bible.Plugin.Generator-linux-x64-1.4.4.zip
- Generator program for 64-bit Linux.
- OBS.Studio.Bible.Plugin.Generator-darwin-x64-1.4.4.zip
- Generator program for 64-bit Mac.
- Bible.Plugin.for.OBS.Studio.Server-win32-x64-1.0.0.zip
- Server program for 64-bit Windows.
- Bible.Plugin.for.OBS.Studio.Server-win32-ia32-1.0.0.zip
- Server program for 32-bit Windows.
- Bible.Plugin.for.OBS.Studio.Server-linux-x64-1.0.0.zip
- Server program for 64-bit Linux.
- Bible.Plugin.for.OBS.Studio.Server-mac-x64-1.0.0.zip
- Server program for 64-bit Mac.
For Server Setup, you need both the Generator program and the Server program for your operating system.
About the Generator
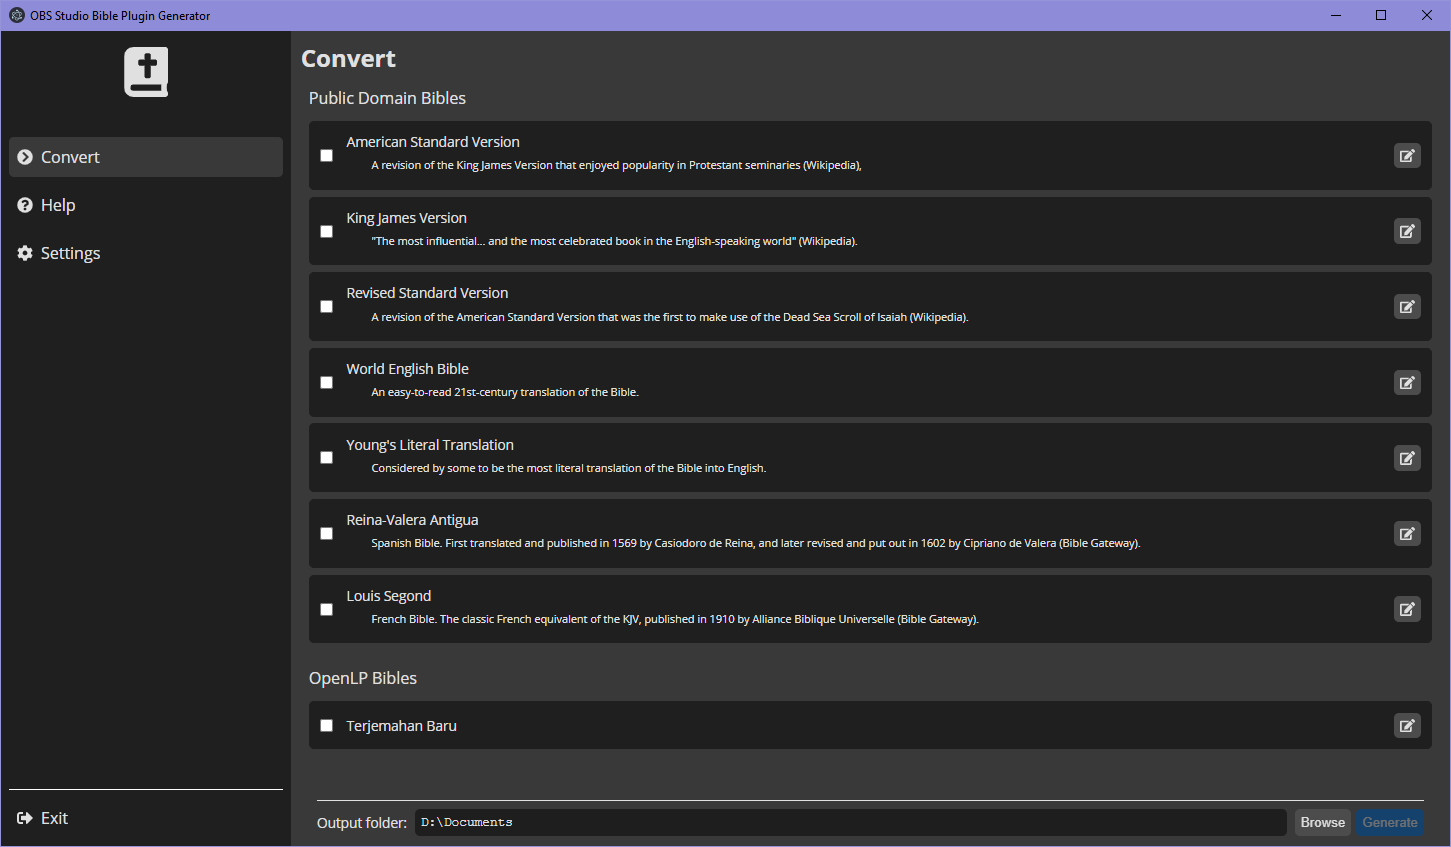
What is the Generator program? It is a portable executable that allows you to use your own Bibles with the Bible Plugin. It works by using a blank version of the Bible Plugin and filling it with the Bibles you have selected. It then copies the plugin to a folder of your choice.
Using the Generator has the following advantages:
- Customizable: choose which Bible translations you want.
- Offline access: you do not need an Internet connection to use the plugin.
- Self-contained: the generated plugin is contained in one folder.
Here are some things you should be aware of:
- The Generator program includes some common public domain Bibles but can also read other Bibles. If you plan to use other Bibles not already included, please keep in mind that the Generator program can only read OpenLP Bibles. For this case, OpenLP should already be installed on the same computer and should already have the Bibles that you want to use inside it. Please note that not every OpenLP Bible is supported; for more information on supported Bibles, please refer to this FAQ.
- File setup, while mostly the same as the Online Version, is slightly more complex for the generated plugin. This is because you will be using your own local files instead of an Internet website.
Please refer to the following FAQ questions for other relevant information:
Using the Generator
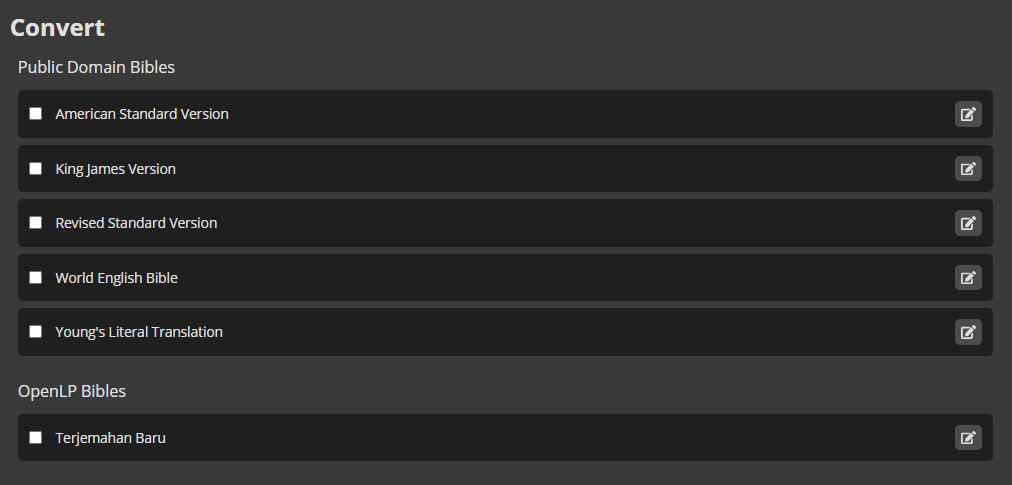
When you launch the program, you will be presented with all the Bible translations that the Generator has detected. Check the Bibles that you would like to include.
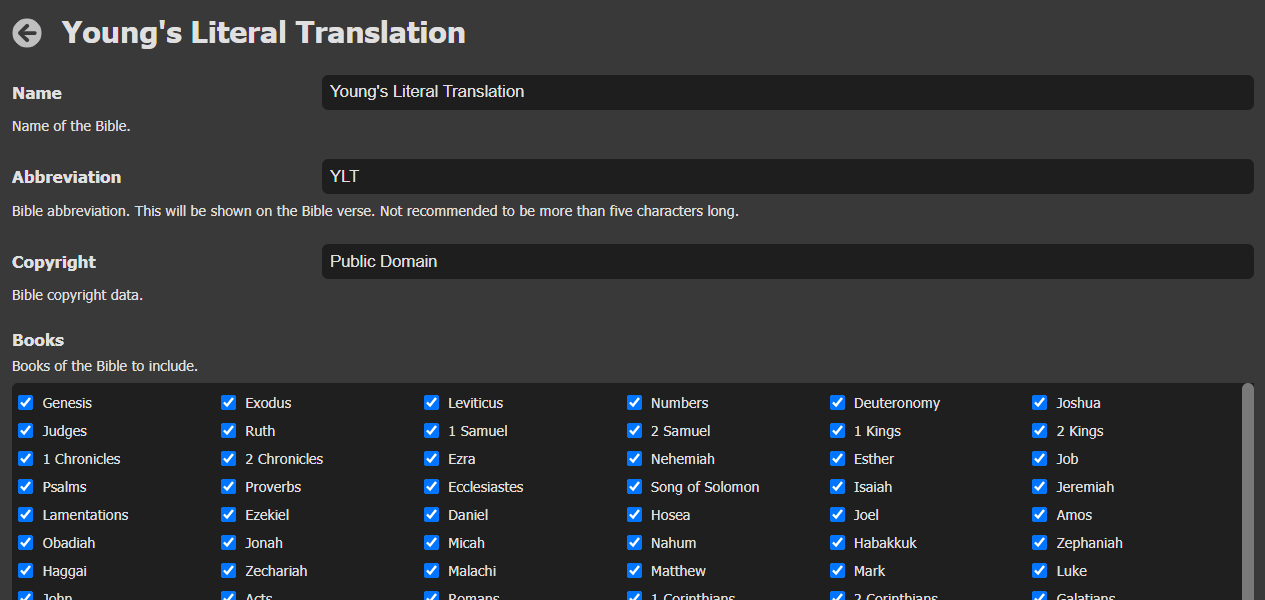
If you click the Edit icon to the right of a Bible, you will enter the Bible editor. From here, you can customize the following:
- Name
- The name of the Bible translation. All selected Bibles must have unique names.
- Abbreviation
- The abbreviation of the Bible translation. This is usually all-caps and three to five letters long. The program will try to guess the abbreviation from the Bible name, but there may be times when you will have to manually set this.
- Copyright
- Bible copyright information.
- Books
- Select which books of the Bible you would like to include. For example, some Bibles include books from the Apocrypha, which you may not want.
When you are done, you can click Cancel to discard your changes or Save to apply them.
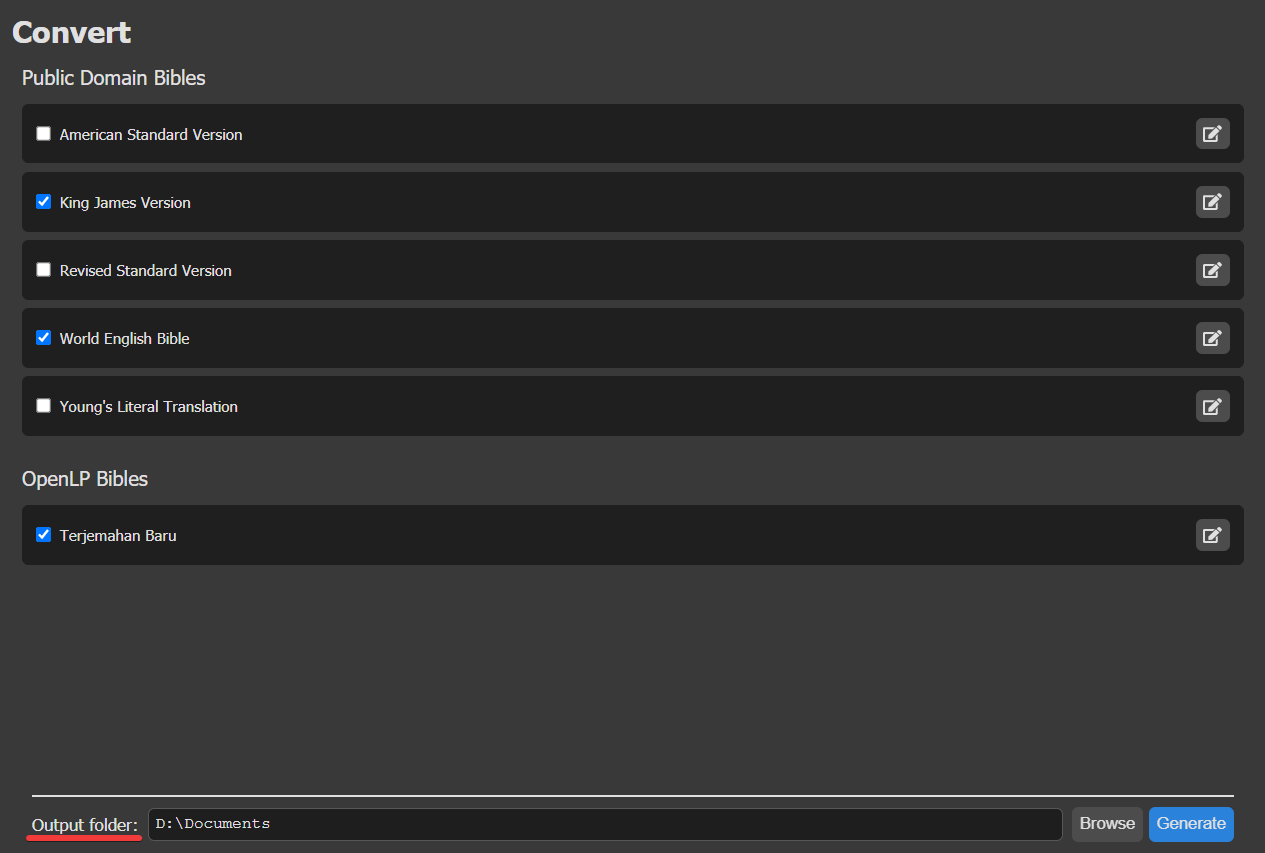
If you want, you can select which folder the plugin should be written to. Inside your chosen folder, a new folder named obs-bible-plugin will be created with all plugin files inside.
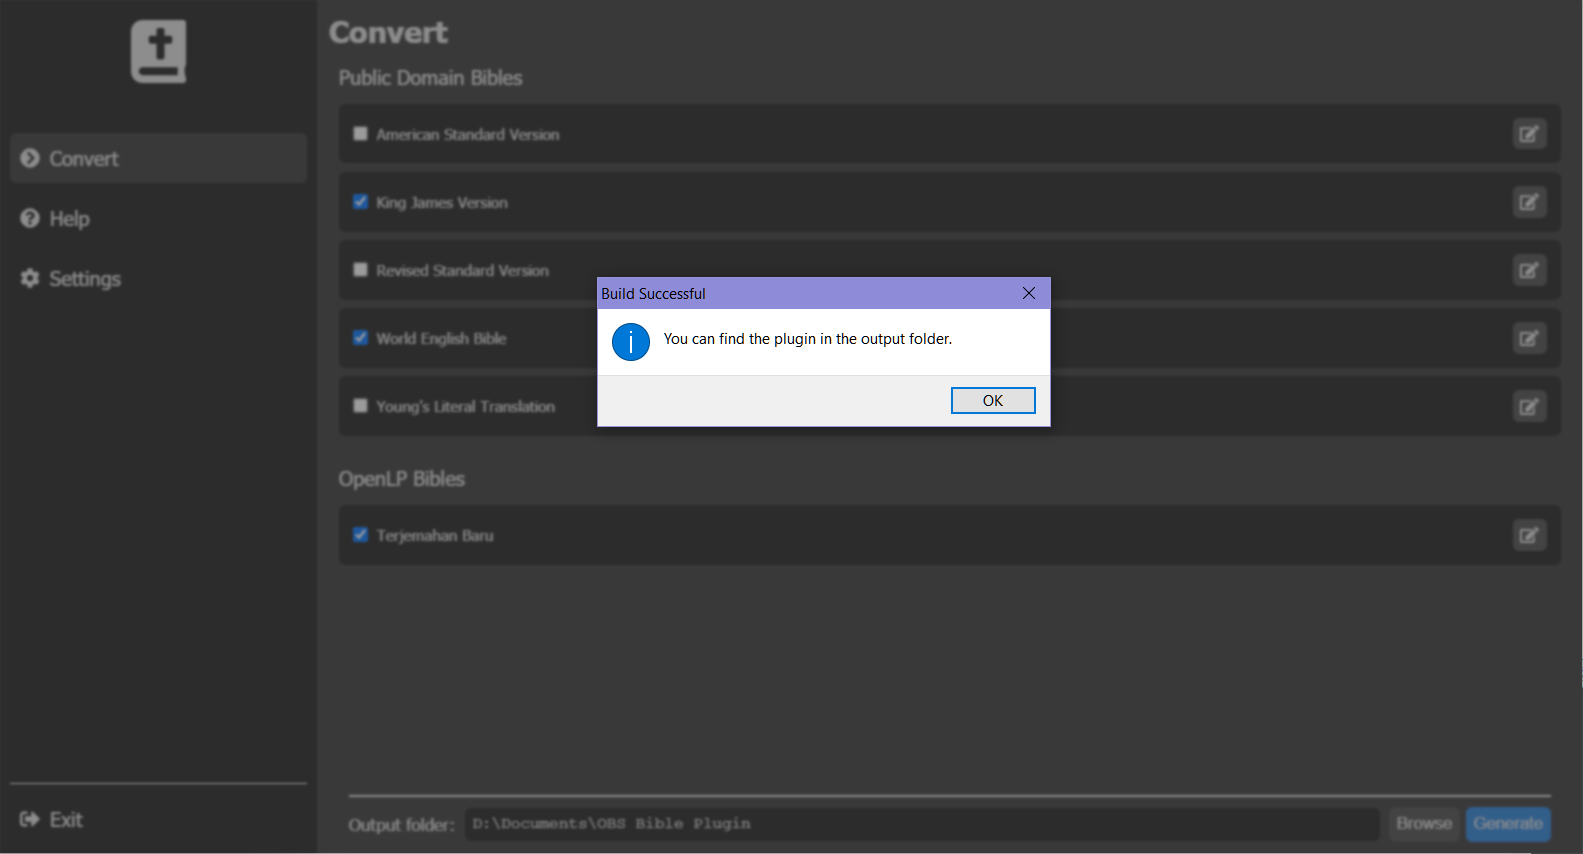
When all the settings are to your liking, click the Generate button. A dialog should appear informing you that plugin generation was successful.
About the Server
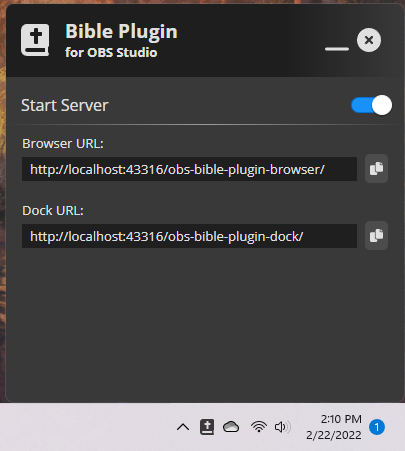
The Server program, as its name suggests, hosts a local web server for the Bible plugin. When the Bible Plugin was first released, this program was unnecessary; but with each OBS Studio update, restrictions on local files increased. Therefore, this program had to be made in case a future OBS Studio update causes the Bible plugin to stop working without a server.
In addition, the Server program opens up a bunch of as yet unrealized possibilities (like remote control and integration with other applications) that are not possible using other methods. You just might find some Server-exclusive content like this in the future!
Using the Server
When you launch the program, you will see a new window like the following:
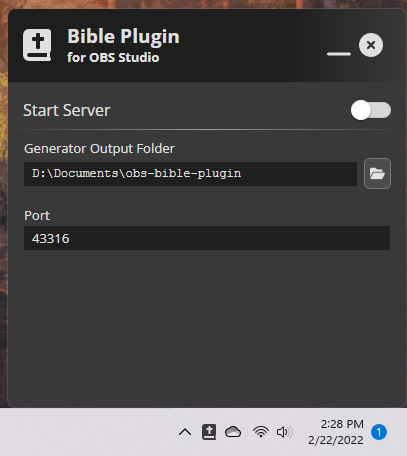
At the top of the window are the Minimize and Close buttons.
The Minimize button minimizes the Server to the system tray. If you don't see the Bible plugin icon after minimizing, you may want to click the arrow next to the tray (on most operating systems) to find it. The Server will continue to run in the background while it is minimized.
The Close button closes the Server. You will have to relaunch the program afterwards in order to restart it.
There are two main options you can change:
- Generator Output Folder
- This is the same output folder you set in the Generator program above. Clicking the button to the right opens the file browser so you can choose a different folder. You only need to change this if you set a different output folder in the Generator program.
- Port
- This is the port number the Server should listen on. You usually don't need to change this setting.
When you are ready, click the switch next to Start Server to start the server. The window will be updated with new information:

You will now see two URLs, a Browser URL and a Dock URL. Clicking on the button to the right of a URL will copy it.
Take note of these two URLs and then proceed to Plugin Setup below.
Plugin Setup
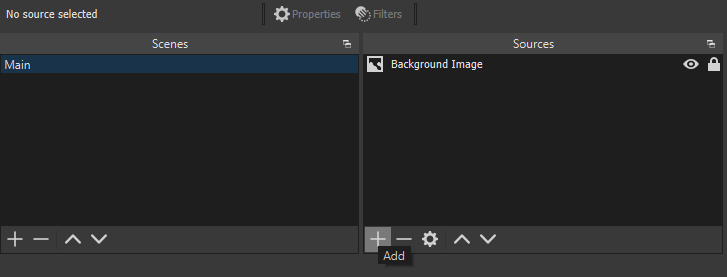
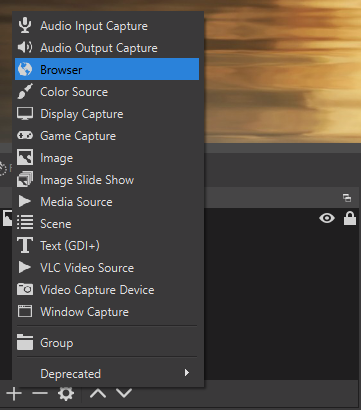
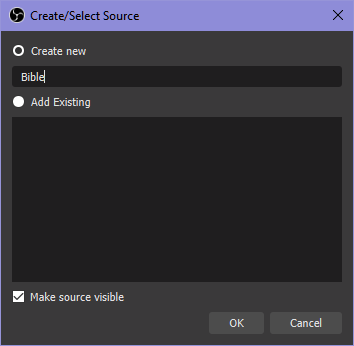
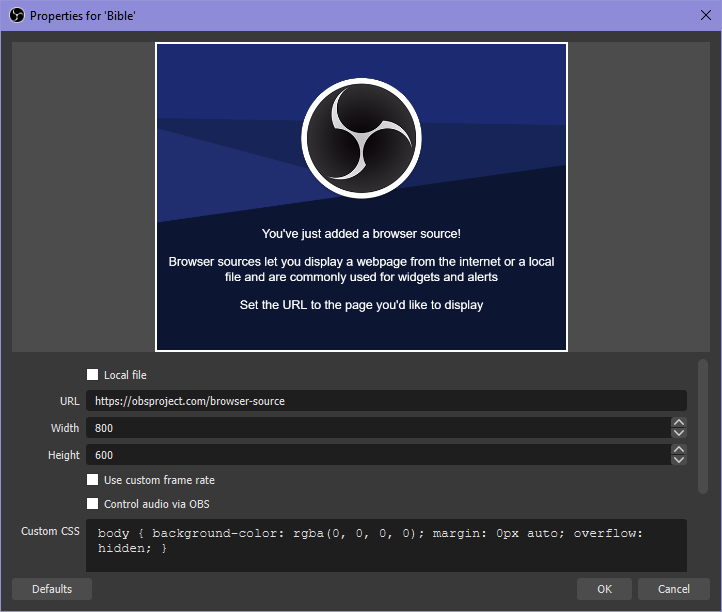
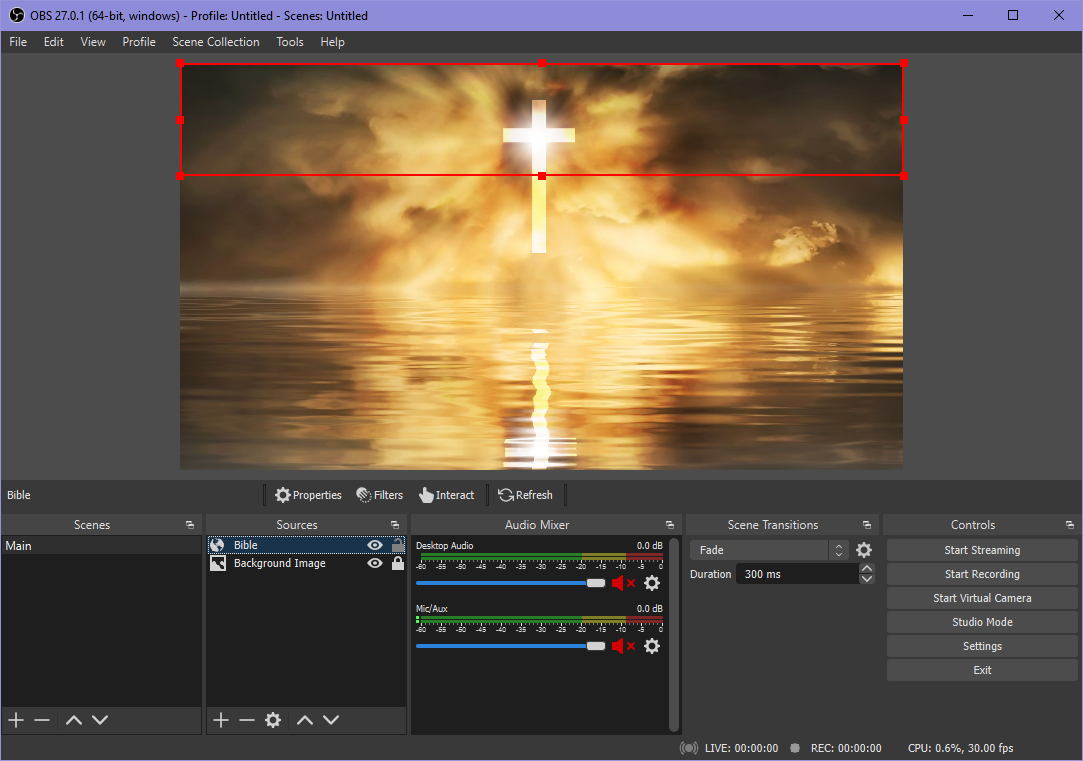
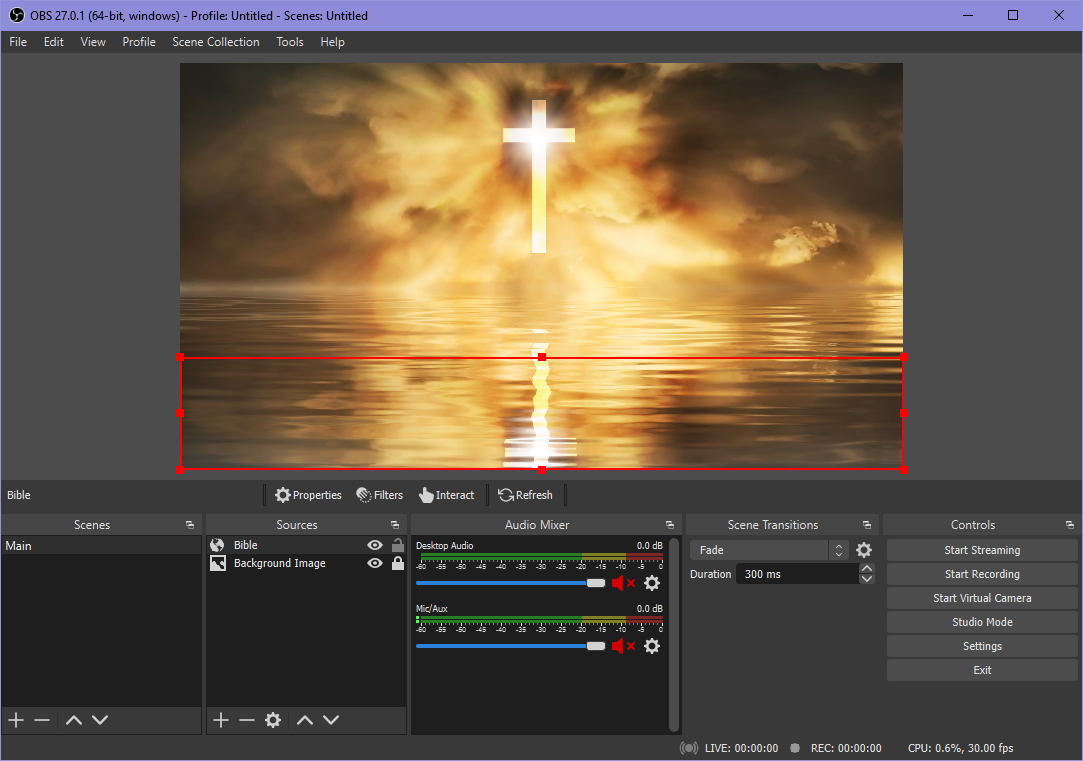
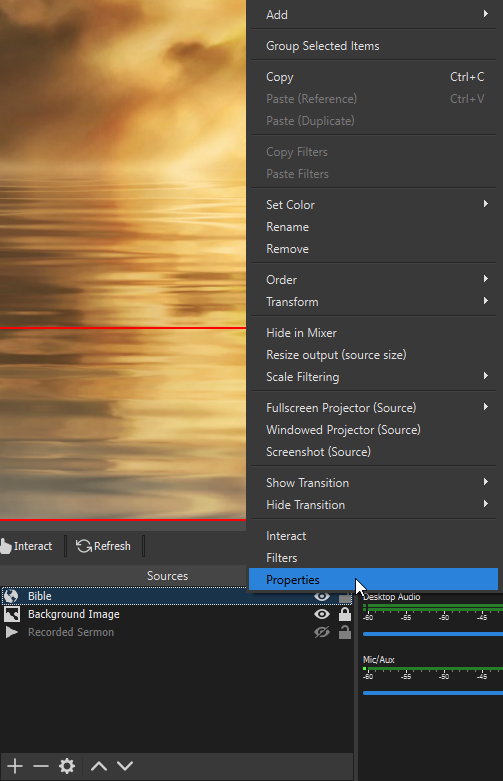
Browser Source Setup
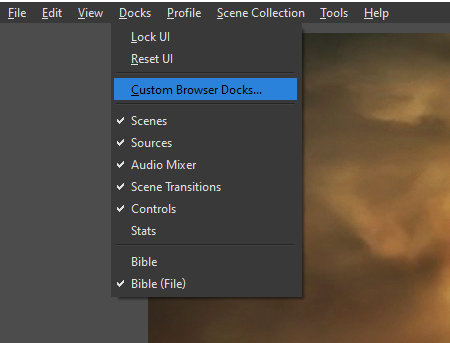
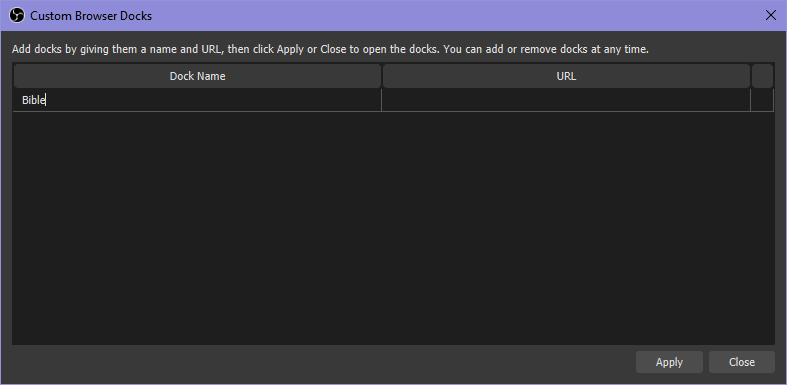
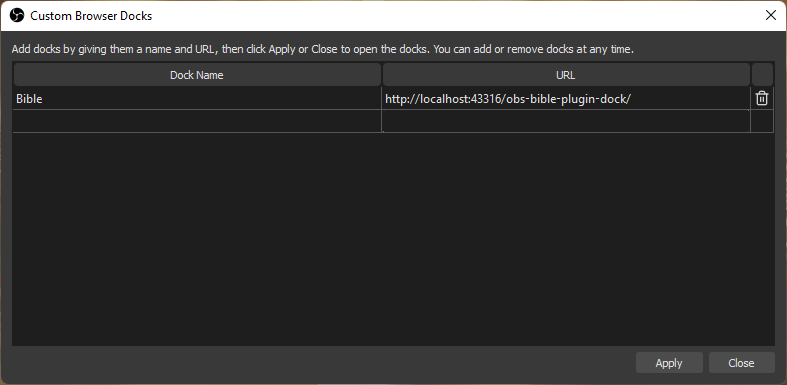
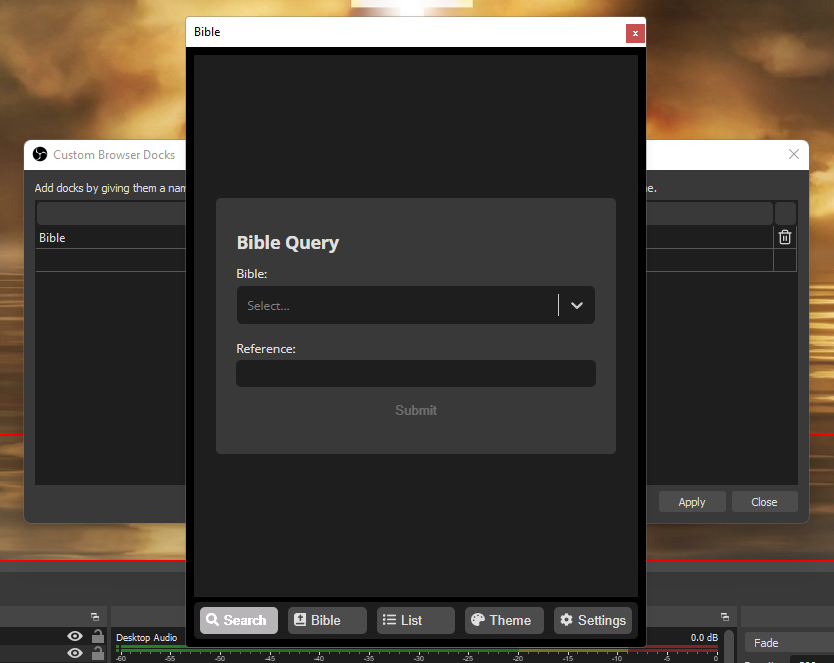
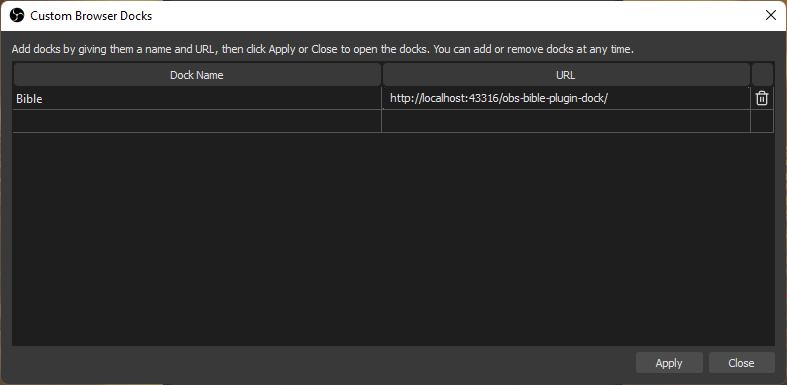
Dock Setup
Conclusion
You are now ready to use the plugin! Choose a Bible, enter a reference, and hit Submit. Click on any resulting verse and it should show up automatically on the browser source. Click it again to hide.
If you have any further questions, please refer to our guides or send us a message on our contact page.
